Upload Vector Personalization
The Upload vector option lets customers upload their own vector artwork, restricted to SVG files only. It's the option to reach for when a design needs crisp, scalable line art from the customer (a logo, a monogram, a cut-line design) rather than a raster photo.
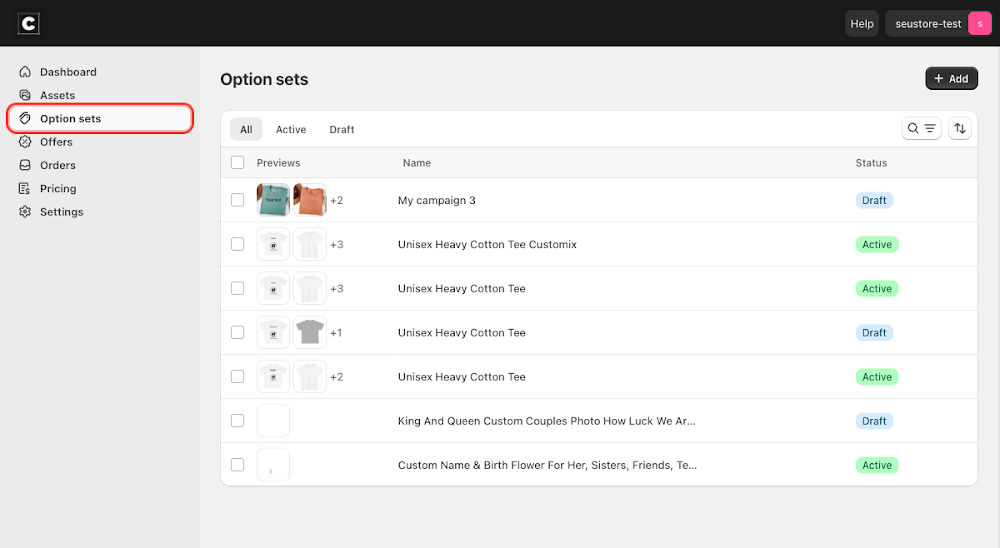
To add it, go to Option sets in the sidebar, open the option set for your product, click Add option, choose Upload vector under Image, then click Add.


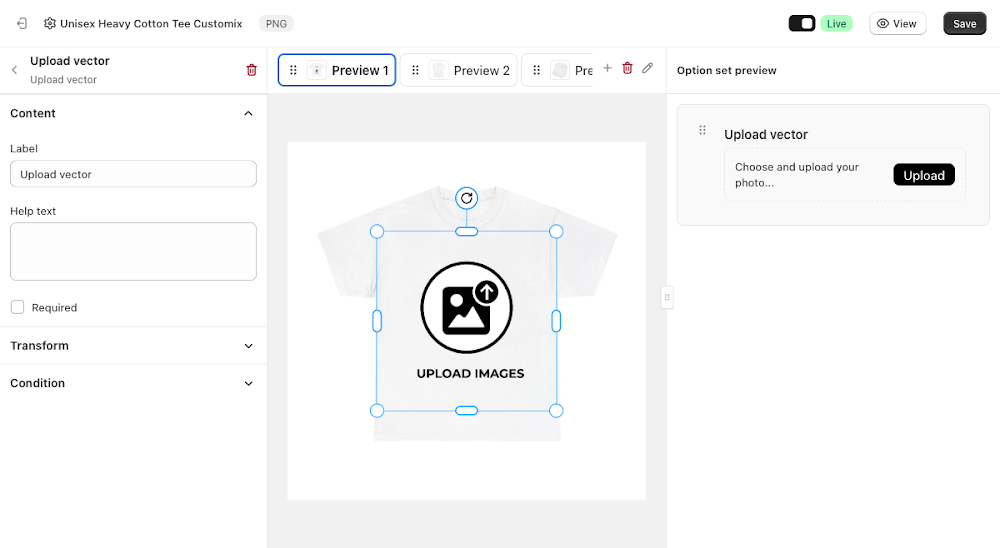
Content
The Content section is minimal, just the label, help text, and whether it's required.
- Label: the field name shown above the upload control, defaults to "Upload vector"
- Help text: optional guidance shown below the label
- Required: forces the customer to upload a file before they can complete the order
The file picker only accepts .svg files (image/svg+xml), unlike Upload photo which accepts raster formats. Trying to select any other file type won't even show it in the OS file picker.
Like Upload photo, the actual upload control only works for real customers on the live storefront, clicking Choose File / Upload here in the editor doesn't do anything since there's no live order to attach the file to.
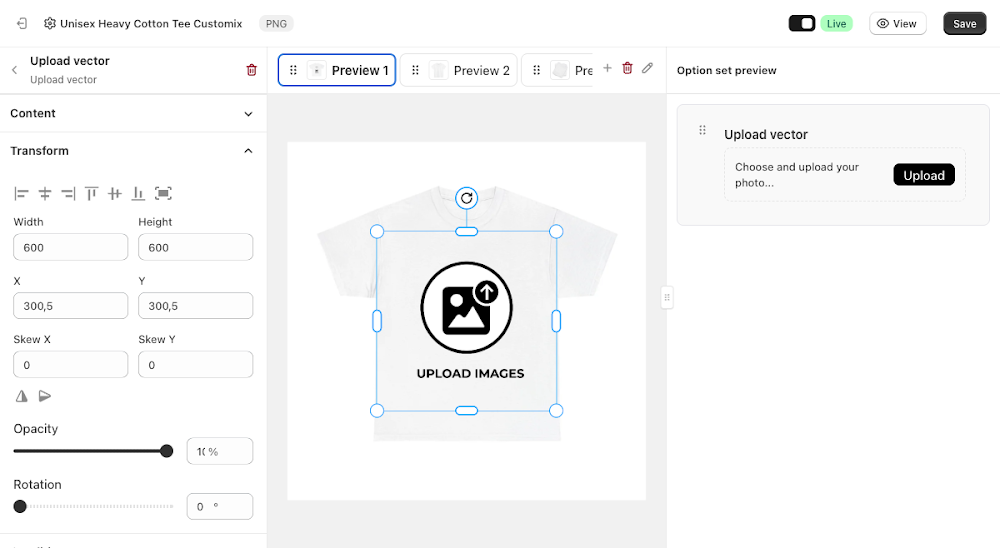
Transform
The standard Width, Height, X, Y, Skew X, Skew Y, alignment, flip, Opacity, and Rotation controls for positioning the uploaded vector on the canvas, the same Transform panel shared by other canvas-based option types.
Condition
Like most option types, Upload vector supports its own conditions, so you can show or hide it based on a selection elsewhere in the option set. See the Conditional Option Sets guide if you want to set that up.
📌 Don't forget to click Save once you're happy with the setup, and make sure the option set's status is Active (not Draft). Customers won't see the Upload vector option on your storefront until both are done.
Updated on: 17/07/2026
Thank you!